
November’s Thread Matters centers around Thanksgiving, Love, & Gratitude. Natalie Barnes is a talented and inspiring pattern and fabric designer and owner of beyond the reef patterns. We’re thrilled to welcome Natalie to Auribuzz to share a new project tutorial using her favorite Aurifil 12wt. It’s perfect for the upcoming holidays and we’re certain you’ll adore the creativity, ingenuity, and LOVE that Natalie stitches into her projects.
Thanks for sharing your love of Aurifil 12wt with us, Natalie. We’re excited to be. do. create with you.
If you missed our original introduction of Aurifilosophy and the Thread Matters series click here to read more. Consider scheduling an Aurifilosophy Program for your shop, group or guild – learn more here.
Happy Stitching!
Karen L. Miller ~ Redbird Quilt Co.
It may not be the Thanksgiving we thought it would be. We may be far from our loved ones, missing having a house full of people around a big table… But, we are resilient and can find new ways to connect, even if it’s via a video call while having dinner or a holiday zoom cheers to close out the evening. Whatever the case, make it your best!
My absolute favorite Aurifil thread is the 12wt. It is simply perfect for slowing down to enjoy some big stitching. It has a distinctive sheen and truly makes any project just a little bit more special. I use it for running stitch needle turn applique, quilted binding, and it’s definitely my favorite for big stitch quilting!!
Today, I’m excited to share these simple yet stunning hand quilted placemats, prepared with the earthy tones of Aurifil’s Florence Color Builder.

Supplies/Tools:
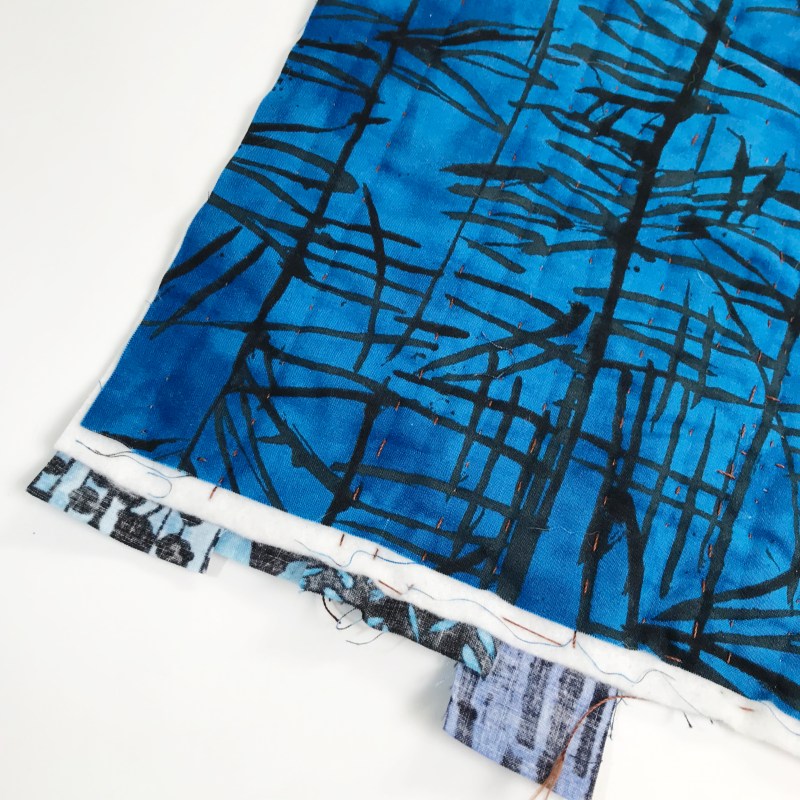
- The Blue One by Marcia Derse for Windham Fabrics (available here)
- 15 fat quarters for top, back, and binding (more than you will need)
- Quilters Dream Batting
- Bohin no.9 Crewel/Embroidery Needle + Thimble
- Rotary Cutter, Ruler, Cutting Mat, and Scissors
- Aurifil 12wt in 2312 – 6010 – 2360 (Florence Brown)

Standard placemats are typically 12″ x 16”, but since we’re putting a lot of quilting on these mats, we’ll increase the size just a bit.
Getting Started:
— Choose four fat quarters for backings. Cut rectangles that are 13″ x 18″ along the 18″ side of the fat quarter and trim to 13″ x 17″.
— Cut the batting a little larger on all four sides – 14″ x 18″.
— Choose four different fat quarters for binding. Cut five 2-1/4″ x 18″ strips along the 18″ length of the fat quarter for each placemat. Set these strips aside.

— From unused fat quarters and any remaining fabric from the backing and binding fabrics, cut 1-1/2″ x 18″ and 2-1/2″ x 18″ strips along the 18″ length of the fat quarter. You’ll need approximately 20-22 strips per placemat.

— Place the backing right side down and layer the batting on top so that it overlays the backing on all 4 sides.
Now comes the fun part!
— With batting side up, place the first fabric strip right side up, along the 17″ length of the batting.
— Select a second strip, varying in value and scale of design from the first strip.
— Choose a third fabric and cut it smaller than the full 17″ width of placemat.
— Arrange the strips as desired, overlapping the raw edges.
— Pin baste or take a moment to hand baste your strips in place.


hint: This first round of big stitch quilting is just to secure your strips, batting and backing; we’ll add more quilting later.

Secure and quilt as you go!
Note: I’m right-handed and always stitch right to left, so I started my stitching on the right and worked my way to the left.
— With needle, thread, and a thimble, stitch approximately 1/8″ away from the raw edge of two overlapping strips using big stitch quilting to secure.


— Continue selecting strips and quilting them into place with straight line stitching until the whole 13″ x 17″ piece of batting is covered.
hint: Be sure to stitch some love into your project!
Square up:
— Place the quilted mat right side down and trim to 12” x 16”, squaring up as you go.
Binding:
— Gather the binding strips that were cut and set aside.
— To piece the strips together, place the short edge of the strips perpendicular to each other and sew from corner to corner.
— Trim the excess fabric to leave a 1/4″ seam allowance, and press seams open to eliminate bulk.
— With wrong sides together, press binding in half lengthwise.
hint: Attach the binding to the BACK SIDE of your placemat and turn to the front. Quilt the binding to the front for added interest.

If you’d like to add more quilting to your project, try adding a few more horizontal lines of hand quilting. The 12wt just sparkles under the light! It’s just the right amount of holiday shimmer for the table. And… you’re done!

You may ask… why did I choose a ginger colored brown and a khaki for the stitching on navy and black fabrics? The brown in the body of the placemats is close in value to the prints so it doesn’t create that much contrast, but the variation in color ensures that those pretty stitches will still show. The lighter khaki for the quilted binding was chosen for the contrast to let those stitches show – it’s the finishing touch.

Now, make a few more placemats until you have the necessary number for your extra special Thanksgiving video call, or to send a stack as a gift to a loved one who might be having their own small family gathering this year!

tip: If you’d like coordinating coasters, include a layer of Insul-Bright along with the batting. If you’d like coordinating napkins, you’ll need additional yardage.
Whatever you decide, remember… it’s the thought that counts. It’s most important to stitch some love into your project. Take your time, slow things down, involve your family, stitching while watching a movie… whatever brings you joy!
Happy Thanksgiving!
With love.
— Natalie.
ABOUT NATALIE
Website || Facebook || Instagram || Shop
 Founded by Natalie Barnes, beyond the reef began on the island of Kauai, one rainy morning on a lanai in Hanalei. The first pattern was sold to the Kapaia Stitchery and now patterns are sold through Brewer, Checker, EE Schenck, Petersen Arne, and United Notions.
Natalie Barnes is a pattern and fabric designer, working with and alongside companies like Windham Fabrics and Aurifil. She thrives on creative expression and lives to inspire and motivate. For beyond the reef, she is the shipping department, the bookkeeper, the graphics department, the IT wizard, the file clerk, and the switchboard operator. You might find her vending at a quilt show, giving a lecture, teaching a class, attending a trade event like International Quilt Market, or showcasing at a distributor’s event. Most of her days are spent designing new quilts, searching out inspiration for fabric design, pattern writing, illustrating, and editing. She truly feels that life couldn’t be any better!
Fabrics generously donated by Windham Fabrics.
Threads donated by Aurifil.
Cutting tools donated by Olfa.
Opinions and choices for materials and tools are my own.
No fees have been paid for this post.