
Greetings fellow thread enthusiasts! As Master Educator and Aurifilosophy Program Coordinator I’m excited to introduce Krista Hennebury of Poppyprint. Krista is a wonderfully skilled, award winning Canadian based Aurifilosopher that joined our thread education team in 2020. Her modern quilting aesthetic is fresh and fun! As a national educator, retreat host, pattern designer, and Instagram enthusiast Krista is admired by those that have benefitted from her informed and welcoming teaching style.
We know you’ll enjoy learning Krista’s “upside down” 12wt thread technique today. Thanks so much for sharing it Krista!
Aurifilosophy has gone Virtual! Consider scheduling a virtual program for your shop, group, or guild. Learn more about Aurifilosophy and find your favorite Aurifilosopher here.
Happy Stitching!
Karen L. Miller ~ Redbird Quilt Co.
In my new role as an Aurifilosopher, educating sewists on using various Aurifil thread weights, it quickly became apparent that people really love discovering the versatility and beauty of Aurifil’s 12wt 2-ply cotton thread. For many students in my Threadplay Pouch Workshop, hand-stitching and machine sewing with 12wt thread is a new experience they find incredibly exciting. It is definitely the thread weight that gets the most ooh’s and aah’s in the class, where we also work with 28, 40, 50 and 80wt threads.

One of my favourite ways to use 12wt thread is actually upside down. Sewing with 12wt in the bobbin and 40wt through the needle of my Juki is a wonderful way to create the illusion of a hand-stitched piece in a comparatively short time frame. There have been many times that I’ve turned to this technique to prepare last minute hostess or birthday gifts like a set of coasters or a table runner. While I love meditative hand-stitching as much as any committed slow-stitcher, there are occasions when I just have to complete something faster and it is wonderful to know I can rely on my Aurifil thread to produce a beautiful result.
A challenge that comes up for some people sewing with 12wt thread is shredding through the needle. There are many reasons for this, but the main issue is that your top thread is subject to a lot of friction as it passes through your tension system, the eye of the needle and your fabric layers, several times before it is actually involved in making a stitch (make a mark on your thread and watch this mark travel up and down as you sew before it disappears into your work – I learned this eye-opening trick from local shop owner & Aurifil stockist Carola Russell). Thread shred is remedied with some experimentation and the solution typically lies with the use of an appropriate type and size needle, slowing down your sewing speed and increasing stitch length. My needle of choice for sewing with 12wt is a 90/14 Superior Topstitch. This needle has a groove above the eye, providing a space for the thread to travel, thereby preventing friction against your fabric layers and the eye of the needle.

So if we find success with 12wt through the needle, why sew with it the bobbin?
First, so many of the issues mentioned above are instantly removed. The bobbin thread leaves the bobbin case, is wrapped by the top thread and a stitch is formed. Friction removed. Second, with this technique we are able to take advantage of grid-printed interfacing to mark complex stitching patterns, including notes or color-coded stitching order intended to reduce stops and starts, without having to put any markings on the right side of our work.

One important thing you need for successful bobbin stitching with 12wt is the ability to adjust your bobbin tension. This is something I discuss right at the beginning of my Threadplay pouch workshop because so many people are unaware that they can simply adjust their bobbin tension with a tiny screwdriver. I use one intended for eye-glasses.

If you have a removable bobbin case, chances are you can make small adjustments by turning the tension screw (the larger of 2 screws on the case) right for tight and left for loose. Check your sewing machine manual. Sometimes an 1/8th turn is all that is required. To test your bobbin tension for the thread you are using, simply load the bobbin into the case, run the thread end through the tension arm and dangle the case by the thread. The case should hang still without dropping, supported by the tension on the thread. Now, do a little yo-yo like drop movement by bobbing your hand and the thread should release about 1/4″- 1/2″ but then stop and hang still again. This is an indication of appropriate bobbin tension for the weight of thread that is currently in the bobbin. If your machine is currently set up for piecing with 50wt in the bobbin, you will definitely have to loosen the bobbin tension to accommodate the thickness of 12wt thread. Try making 1/8th turn adjustments at a time and don’t forget to replace the screw to the original position when you go back to piecing.

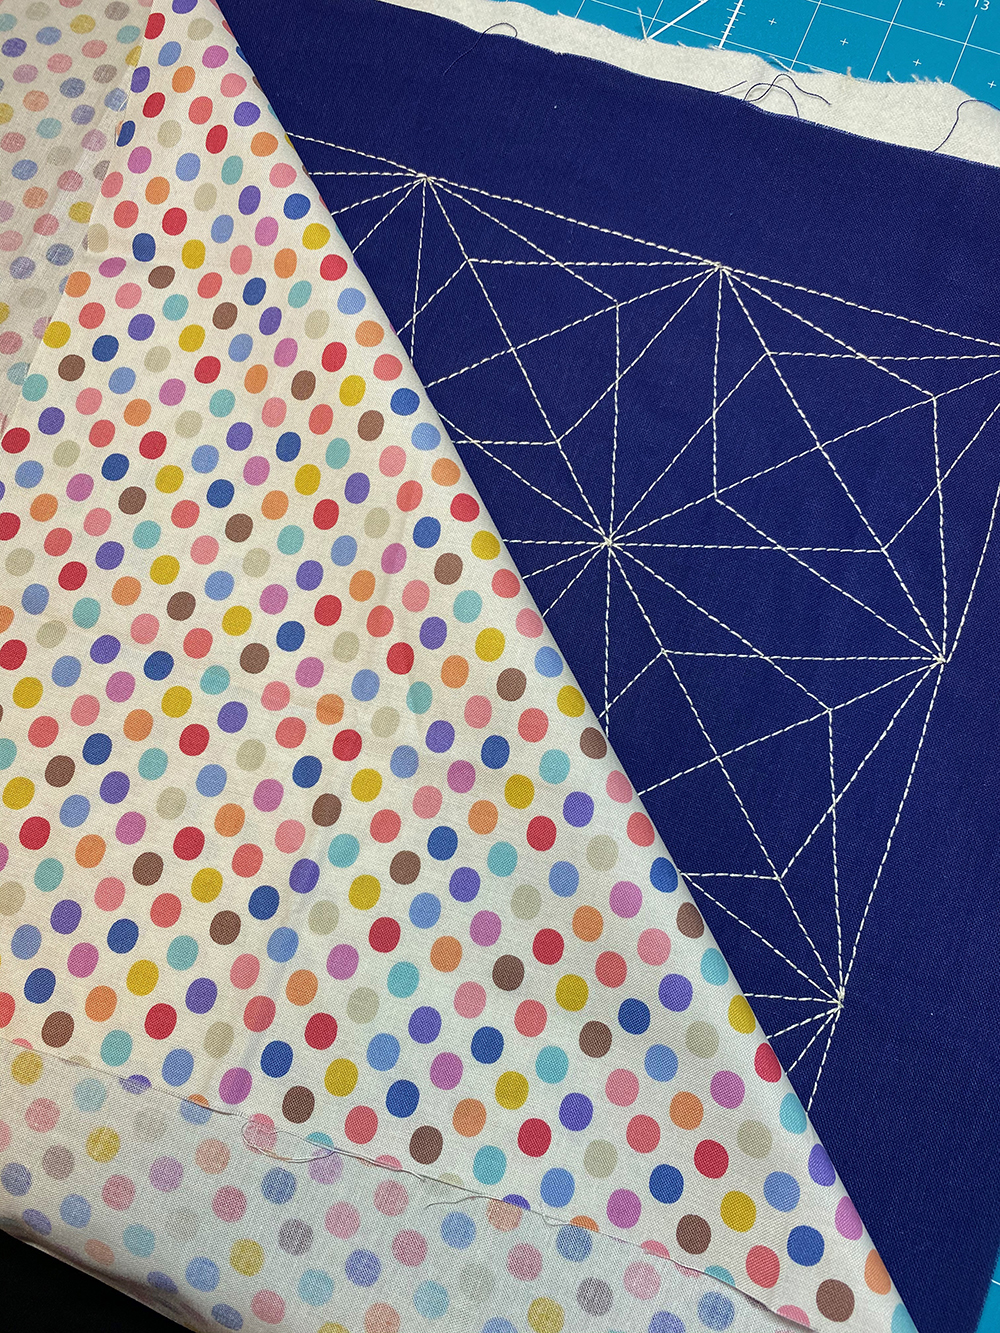
There are a couple of other considerations for this project. The first is to use 40wt thread through the needle in a colour that matches your fabric. The heavy bobbin thread will draw the top thread down to the bottom side of the work (in this case, the right side of the project) and because the 40wt thread is the same colour as the fabric, the result is the illusion of space between stitches, giving the appearance of a hand stitch. Finally, backing your fabric with a brushed cotton or flannel helps to give some extra stitch definition without the loft of batting.
There are many sources of pattern inspiration for projects like this. I sought out a geometric, grid-based design that is easily drafted using the 1″ printed grid on Pellon pattern tracing interfacing. This design came from Melissa Marginet’s self-published book “Walking Foot Quilting Designs”. This pattern, like many grid-based symmetrical designs, can be traced to ages-old drawings and stitched elements as a variation of the Japanese Ganzezashi “sea urchin” design. Here, the diamond elements are superimposed crossing each other. Previously, I have drafted and stitched other well-known traditional Japanese sashiko patterns like the ones you see in the table runner (below) that I completed as an Aurifil Artisan challenge in 2019. When I first learned a version of this bobbin technique years ago from local Vancouver teacher Kirsten Yee, we were introduced to sashiko patterns that could be adapted to continuous line sewing.

Getting Started
Decide on the size and shape of your desired project (in this case, my table topper design is a 16″ square so that I could use Fat Quarters). Once you’ve drawn the design with a permanent marking pen on the interfacing, baste all three layers with pins strategically placed so you won’t have to remove them when stitching. Baste the layers in the following order:
Bottom – project fabric right side down (I used linen),
Middle – brushed cotton or flannel with brushed side facing down, and
Top – interfacing with drawn lines facing up.

Now you are ready to sew! Load up a bobbin or two with a high contrast 12wt thread and your needle with 40wt thread that matches your project fabric. This project used 1.5 Juki bobbins of 12wt thread.
Here are some tips for stitching out your design:
- Increase your stitch length. I use one notch longer than 3 on my Juki.
- Always test your tension settings by first sewing on a practice sandwich of the same 3 layers that you’re using in your project. If you have large fabric pieces, sew test lines in the outer margins of your project that will be trimmed off later.
- Install a walking foot if you are getting fabric creep as you sew on your practice sandwich. I was able to sew my project using the regular patchwork foot on my Juki.
- To begin any line of stitching, hand crank the needle down, then up, to draw the bobbin thread to the top of the work. Leave long tails to tie off and bury with a self-threading needle later.

- Use the needle down function of your machine for turning work in corners/intersections.
- As you approach the end of a stitching line, be prepared to adjust the length of the last stitch so that you end the line with the needle down exactly at the turning point of the drawn pattern.
- Leave long thread tales at the end of a line of stitching for tying off and burying with a self-threading needle later.
- If your machine skips a stitch as you resume sewing after turning a corner with your needle down, it could be that you’ve “unwound” your previous stitch, check my @poppyprint Instagram story highlight “Sharp Corners” for a great solution.

Once your stitching is complete, it is your choice to carefully cut or tear away the interfacing, or to leave it depending on whether you think your project will ever be washed. Since I plan to use this piece on the table, I decided to remove the interfacing, but I was very careful to support the stitches as I did so. It took me longer to remove the interfacing (60 minutes) than it did to stitch out this pattern (45 minutes). Once that was complete, I tied and buried all of my thread ends between the linen and flannel layers.

To finish things off, I sewed a backing fabric right sides together with the project top, stitching 1˝ outside the square line of stitches that defines the edge of the drawn pattern and leaving a 2″ opening for turning. I trimmed a 3/8″ seam allowance, clipped the corners, then turned the work right side out and pressed the edges. Finally, I topstitched 1/4″ from the turned edge from the right side with the coordinating blue 40wt, then once again put the right side down and stitching with 12wt in the bobbin, echoing one more line around the outside square of the drawn pattern.

Project Ideas
I mentioned table runners, coasters and this square table topper, but you consider this technique to embellish the back of a denim jacket, or pockets that you’re going to top stitch to a tunic, vest, apron or trousers.
Supplies and notions used in this project:
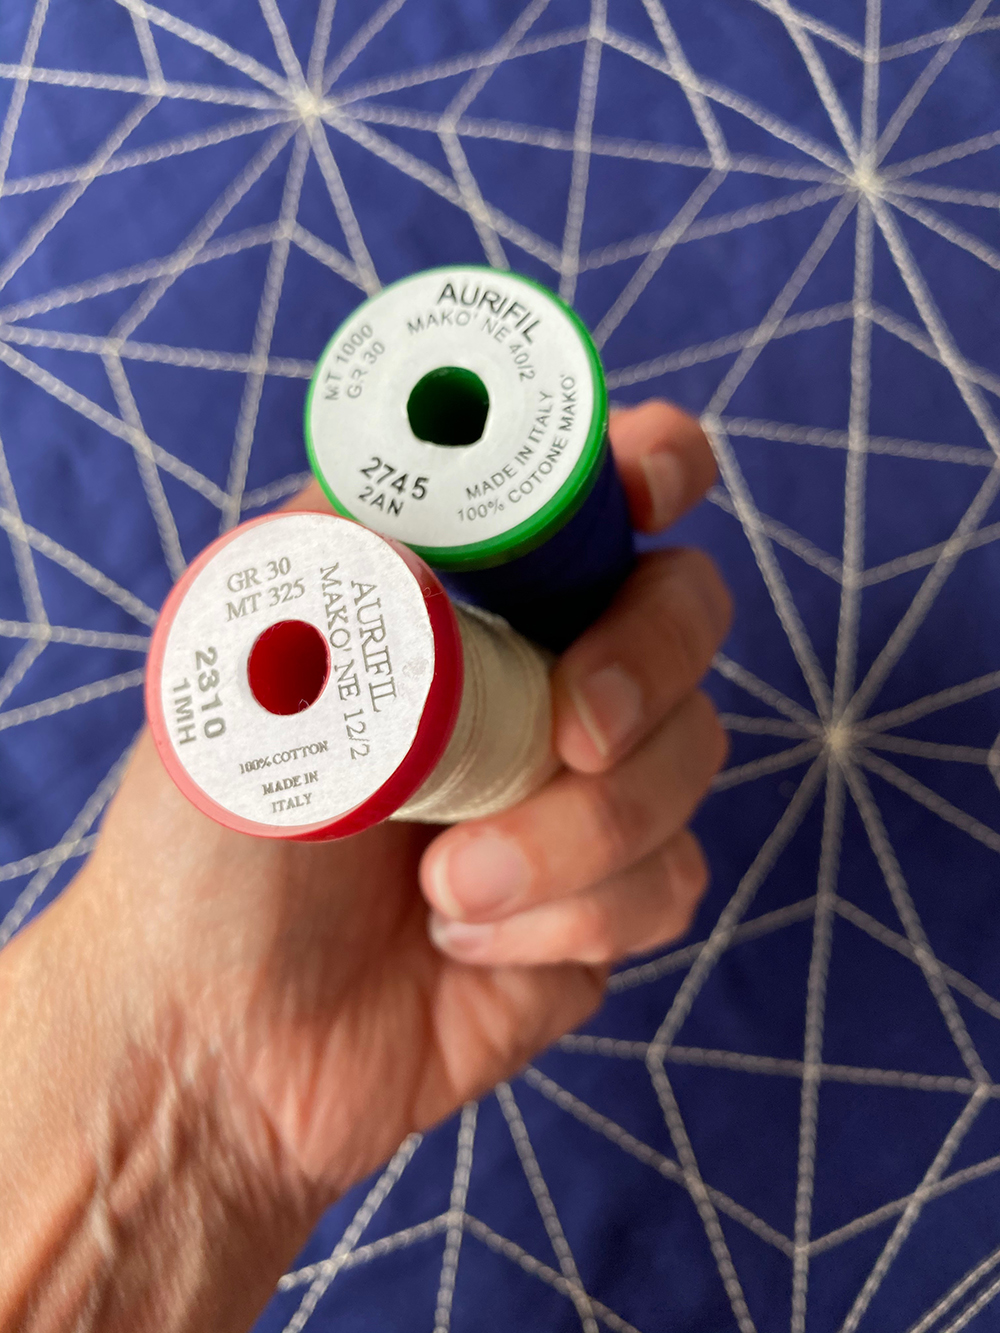
– 12wt Aurifil thread 2310
– 40wt Aurifil thread 2745
– Sakura Identi-pen
– Pellon gridded pattern tracing interfacing
– Navy linen FQ
– White flannel FQ
– Quilting cotton FQ
– Superior 90/14 topstitch needle
– Basting safety pins
– Clover glass head fine patchwork pins
– Fons & Porter gold eye self-threading needles
ABOUT KRISTA
Website | Instagram

Krista is a traditionally-informed modern quilter, international quilting educator, retreat host, active guild-member and instagram enthusiast. She teaches popular technique and project workshops and is known for her friendly and encouraging hands-on style in the classroom. Equally comfortable with improv design or piecing in a traditionally accurate manner, Krista loves encouraging quilters to experiment, participate and try new things to advance their practice. She’s been a dedicated Aurifil thread user since 2003, became an Aurifil Artisan in 2018, and an Aurifilosopher in 2020. Her quilts and patterns have been published in numerous magazines and books and won awards at QuiltCon and QuiltCanada.
Finally a “how-to” article discussing bobbin work that explains it perfectly to me. Thank you!
Very informative although I have a Janome MC6700P with a drop in bottom. The bobbin case does come out but it is a rest case. Would I be able to use this technique with this machine?
Your information on bobbin work is so informative. I sew with a Bernina 880 and have wanted to try this. I did purchase the red bobbin case and I am not sure how to use it. After reading your page I will just try it and see what happens.